

You want an airtight seal in your attic, but you aren’t sure of the steps. If you do this DIY, what will it look like? Or, if you hire a professional, what can you expect them to do when delivering an air-seal upstairs?
South Central Services has insulated hundreds of new and existing homes near Chambersburg, Pennsylvania. Our team has developed a method for sealing air leakage upstairs that delivers consistent results. By the end, you’ll understand the key steps in air-sealing an attic.
Steps To Sealing Air Leaks In An Attic
There are four steps to air-sealing an attic. If any of these steps are skipped, the air-seal would be ineffective. In order, these steps are:
- Remove insulation
- Find air leaks
- Air-seal the leaks
- Install new insulation
Let’s examine each of these steps in more detail.
1. Remove & Dispose Of Existing Insulation.
Sometimes, we’ll work in an attic with no insulation upstairs. It’s rare, but it happens. But working in an attic with existing insulation is much more common.
The state of the insulation upstairs varies. Often, the insulation is soiled with insect carcasses and rodent droppings. There might be one layer of insulation or several layers.
No matter what the state of the insulation is, it must be removed. In order to install an air-seal upstairs, you need to start with a blank canvas. Removing the insulation lets you get a clear view of the floor to properly air-seal it.

The removed insulation should be disposed of. It cannot be reused due to the likelihood of damage, dirt, and debris.
If there’s insulation in your attic, all that insulation has to come out first to do a proper job.
2. Identify The Air Leaks.
There are many different types of penetrations upstairs that can cause air leaks. Any penetration through the ceiling of the house, leading from the living space to the attic, can be an air leak. This includes, and is not limited to:
- Electrical wires
- HVAC vents
- Plumbing vents
- Light fixtures
- Can lights
- Flue pipes
- Chimneys
All problem areas must be identified to install an air-seal properly.
3. Air-Seal The Air Leaks.
%20(T)%20(1).jpg?width=206&height=275&name=7.30.24%20Blown-in%20prep%20(2)%20(T)%20(1).jpg) Once all the air leaks have been identified, they need to be sealed up. Every type of penetration has its own way of being sealed up properly. However, the majority of these penetrations are sealed with can foam.
Once all the air leaks have been identified, they need to be sealed up. Every type of penetration has its own way of being sealed up properly. However, the majority of these penetrations are sealed with can foam.
The major exception to can foam sealing is can lights. Any attic with can light penetrations needs a can light cover. These tent around the can light and are air-sealed around the edges of the cover. The tent sits on the back of the drywall flat.
Our team makes custom can light covers, but you can buy generic covers for between $20 and $30 apiece.
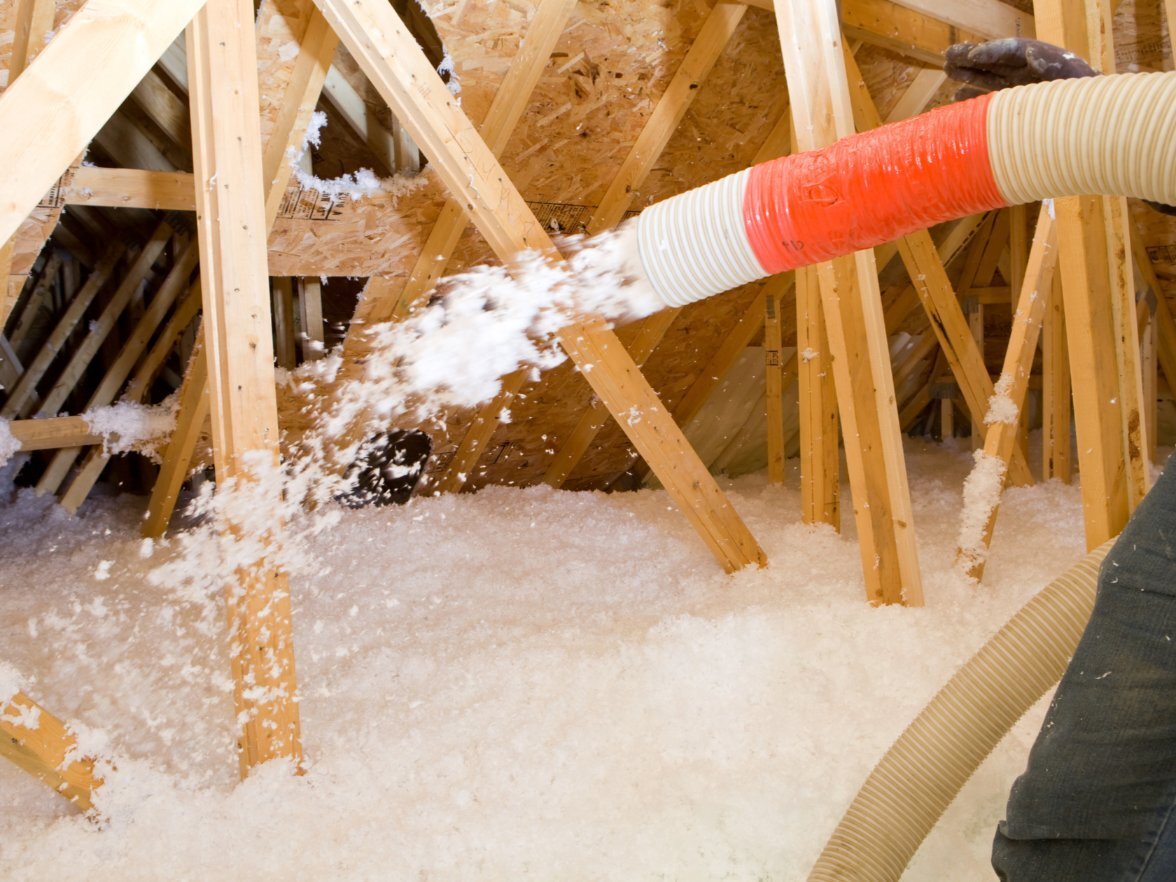
4. Install New Blown-In Insulation.
 After the attic penetrations have been air-sealed, the job isn’t done. Even a perfect air-sealing job is ineffective without new insulation. Your attic must be insulated to help stop heat transfer.
Whatever R-value you need to install upstairs, blown-in cellulose or fiberglass can achieve that at appropriate depths. A professional insulation contractor can use commercial blowing machines to insulate your attic. Or, a rental machine from Lowe’s or Home Depot can get the job done in double or triple the time.
For Attics With Poor Access, Consider Hiring A Professional.
Technically, attic air-sealing is something you can accomplish yourself with the right tools and time. However, many factors must be considered before opting to air-seal and insulate as a DIY.
Many attics are very narrow and have difficult access points. For such small or awkward attics, this job can be claustrophobic and uncomfortable. It’s also hard to ensure the job is done right.
Depending on the size of your attic, it may be more cost-effective to hire a professional. The more can lights present in your attic, the higher the DIY cost will be.
If you do decide to insulate the attic yourself, don’t make the mistake of underestimating the project. Air-sealing your attic on your own will include:
- Long hours
- Physical labor
- Exhaustion
- Sweating
- Discomfort
It will take a lot of commitment to see your project through. Most attics are not ideal for homeowners to access. It may be better to hire a qualified professional instead.
The Bottom Line About Sealing Air Leakage In Your Attic
There are four steps to sealing up air leaks in an attic: removing existing insulation, identifying air leaks, sealing air leaks, and installing new insulation. In order to install an effective air-seal, any existing insulation must be removed.
It is vital to identify all air leaks and to appropriately air-seal them. The attic can be reinsulated once those air leaks have been properly sealed.
Now that you understand how to air-seal an attic, your next step is to:
- Learn more about DIY attic air-sealing
- Estimate the cost of air-sealing your attic
- Compare attic insulation options

Disclaimer: While we strive to publish information accurate to building science, local building codes and standards supersede our recommendations.
Topics: